¿Cómo crear efecto doble exposición en Photoshop? Aquí te lo contamos
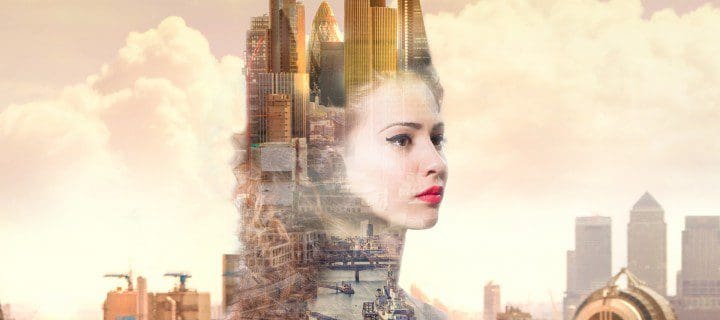
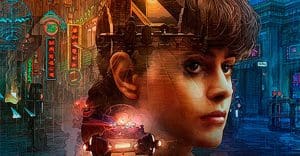
En más de una ocasión, hemos visto en varias piezas gráficas para publicidades de películas, portadas de álbumes, flyers, entre otras cosas, un efecto doble exposición, donde parece que la imagen fuera sacada de “otra dimensión”. La composición de fotos, juega un importante rol en este tipo de efectos, que da mucho impacto visual.
¿Aún no sabes cómo crear o hacer un efecto doble exposición en Photoshop? Este tutorial, que fue compartido en la cuenta oficial de Adobe Photoshop, nos explica cómo paso a paso cómo crear este efecto. Recuerda usar fotos con fondos simples que te ayudarán con el proceso de crear máscara en este programa.

Créditos: Pinterest
Primero, abriremos la imagen porta retrato en Photoshop. Luego, haremos corte de máscara en el fondo para crear el efecto doble retrato con la silueta de la persona. Después, usando la herramienta varita mágica (su atajo es letra W), haremos clic y seleccionaremos el fondo. Iremos a Seleccionar, presione la tecla “Shift”, y haga clic en “Seleccionar”-“Máscara”.
Segundo, daremos clic en “Agregar máscara”, y luego haremos clic en “Crear una máscara”. Después de este proceso, moveremos la nueva capa debajo de la capa de la imagen portarretrato. Ahora, seleccionaremos la herramienta del bote de pintura (su atajo es letra G), y rellenaremos el fondo de color blanco.
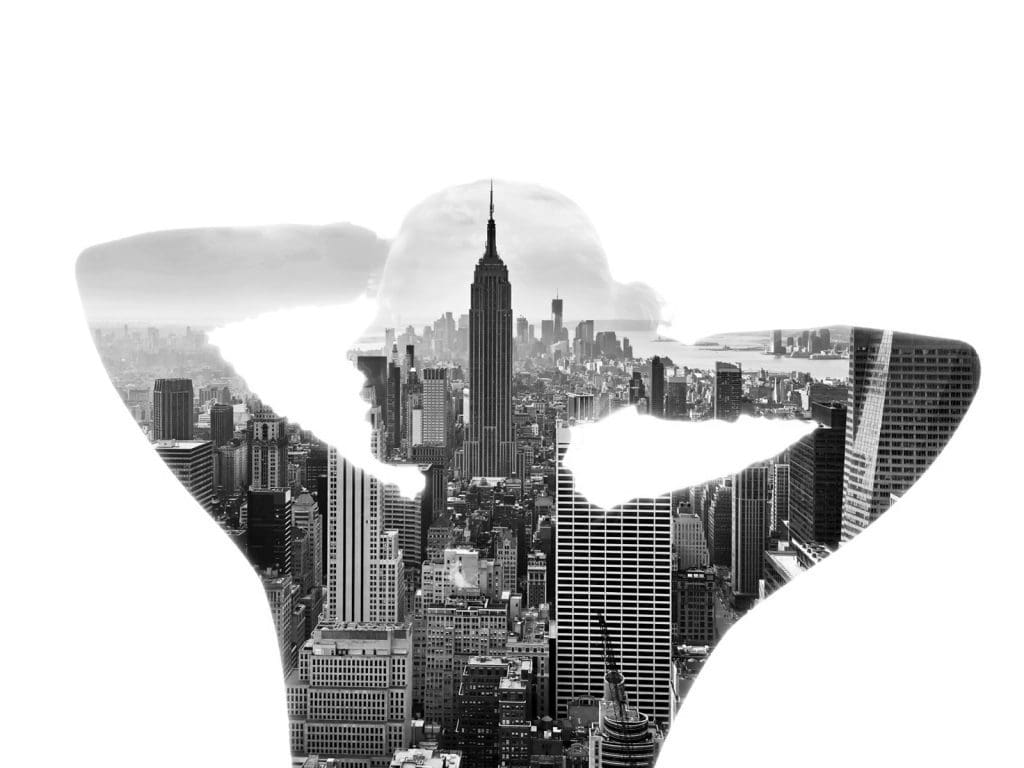
Créditos: AdriPhoto
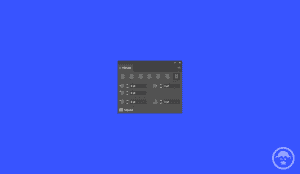
Tercero, coloca la segunda imagen, y ajusta la foto con “Niveles” (su atajo es Ctrl+L). Ten en cuenta que la capa de ajuste se recorta sólo a la segunda imagen. Queremos asegurarnos que el cielo sea brillante y limpio para hacer más fácil la selección. Presiona Ctrl+clic izquierdo en la máscara de recorte que hemos creado, y luego, crearemos una nueva máscara de capa para la foto de paisaje.
Cuarto, desvincula la máscara haciendo clic en el símbolo del medio, y vuelve a ajustar la foto del paisaje de la manera que prefiera.
Por último, duplica la máscara de portarretrato y mueve la copia a la parte superior de la capa de paisaje. Luego, cambia el modo de fusión a “aclarar”. El autor del tutorial ha decidido agregar otros elementos como flores, usando el mismo modo de fusión (aclarar) del este último paso.
Si crees que el fondo blanco es un poco aburrido, puedes intentar agregar con otra diferente. Ahora, que viste cómo se puede crear el efecto doble exposición, atrévete a ser este procedimiento con las imágenes que desees.

